Propagation
How to Use a Propagation Station
Eight steps, and the two that matter most are where you cut and how much water goes in the vessel.
By Scooter M., enthusiast · Published · Last updated
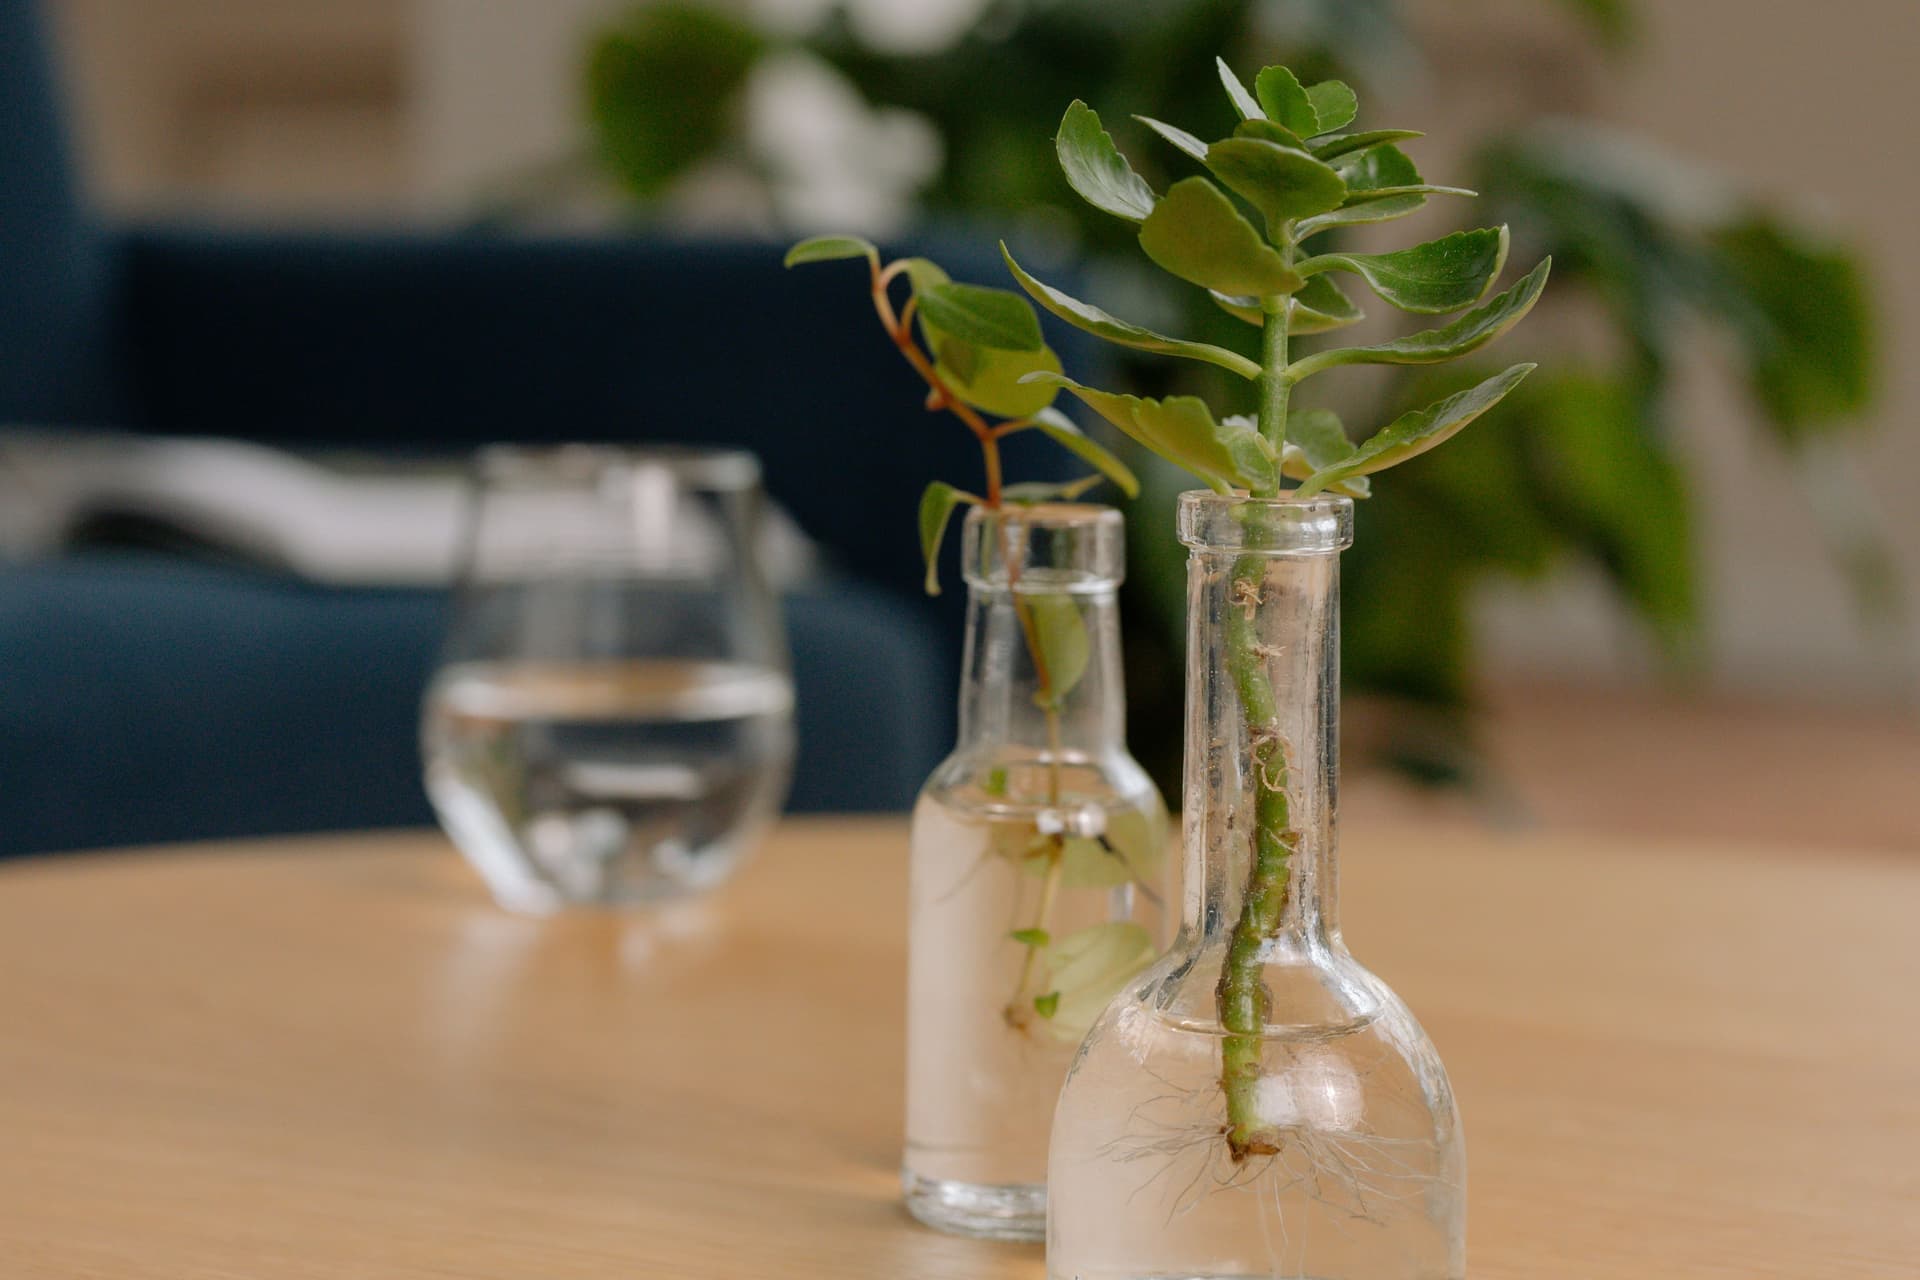
The short answer
Cut just below a node, strip the leaves that would sit underwater, put the node in water and the leaves above it, keep it in bright indirect light, change the water weekly, and pot up when the roots are two to three inches long. The two mistakes that cause almost every failure are cutting between nodes and leaving leaves under the waterline.
Disclosure Pot & Prop earns a commission when you buy through the Amazon links on this page, at no extra cost to you. It does not change which products get recommended or what we say about them, and we have not been given any of them. How this site is funded.
Water propagation is close to free and close to foolproof, and the small number of ways it goes wrong are all avoidable. This is the whole process, in order, with the reasoning attached — because the steps are easy to follow and much easier to remember once you know why each one is there. If you have not settled on water yet, the comparison with mix and LECA is here.
The eight steps
- Find a node. A node is the small bump on the stem where a leaf joins it, and it is where roots come from. A length of stem with no node on it will not root, however long you leave it and however healthy it looks.
- Cut about a quarter of an inch below the node, with clean scissors or a knife. Below, not above — the node has to be on the piece you are keeping.
- Strip the lower leaves. Anything that would sit under the waterline comes off. Submerged leaves rot, the rot fouls the water, and the fouled water takes the cutting with it. This is the single most common failure in water propagation.
- Put it in the vessel with the node submerged and the remaining leaves above the surface. An inch or two of water is plenty; the vessel does not need to be full.
- Put it in bright indirect light, not direct sun. Direct sun heats the water and encourages algae, and a cutting with no roots cannot replace the water it loses.
- Change the water weekly, or whenever it goes cloudy. Top up in between as it evaporates. Cloudiness is algae and bacteria, and stale water is what makes a cut end rot instead of root.
- Wait. Easy plants — pothos, tradescantia, philodendron — show roots in one to three weeks. Others take longer and some do not root in water at all.
- Pot up at two to three inches of root. Not at six. Water roots are adapted to water, and the longer they grow in it the harder the transition to mix becomes.
Why the waterline rule matters most
Everything else on this list is optimization. The waterline rule is the difference between a cutting that roots and one that turns to slime. A leaf underwater begins to break down within days, the decomposition feeds bacteria, the bacteria population climbs, and the cut end of the stem — which is an open wound — is sitting in the middle of it. Strip the lower leaves and most of that never starts.
Potting up, which is where cuttings actually die
Almost everyone gets to roots and then loses the plant in the fortnight afterwards. Water roots are structurally different from soil roots — finer, more brittle, adapted to an environment with no air pockets — and moving a cutting to mix is a transition it has to survive rather than a formality. Three things make it much more likely to work: pot early at two to three inches of root, use a small pot rather than a generous one, and keep the mix a little damper than usual for the first two weeks while the plant grows roots suited to its new home.
Expect some drooping in the first week. It is normal and it usually passes. Small pots with drainage are the right destination, and the nursery pot size chart covers what size to start in.
What goes wrong, and what it means
| What you see | What it means | What to do |
|---|---|---|
| Cut end goes brown and mushy | Rot from stale water or a submerged leaf | Recut above the rot, fresh water, strip lower leaves |
| Water goes green and cloudy | Algae — usually too much light | Move out of direct sun, change water, clean the vessel |
| Nothing after six weeks | Often no node on the cutting | Check for a node; take a new cutting if there is none |
| Leaves yellow but stem is firm | Normal — the cutting is spending reserves | Leave it; new growth follows roots |
| Roots grow but plant wilts after potting | Water-to-soil transition | Keep the mix damper for two weeks, out of direct sun |
Every pick, in full
We have not handled any of these. What follows is what each listing publishes, what that means once you put a watered pot on it, and who should buy something else.
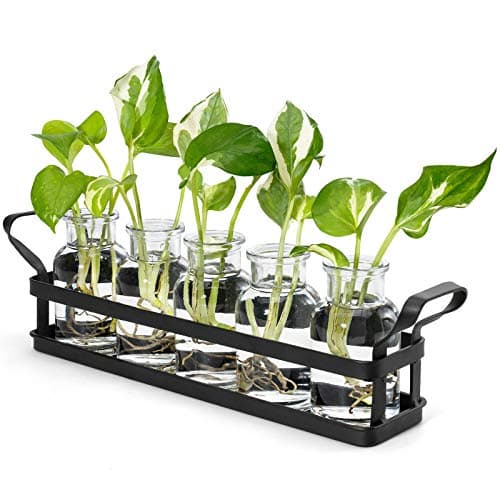
1. Cuttings you want to actually watch root
Mkono 5 Jar Desktop Propagation Station with Stand
Wide-mouth jars rather than narrow test tubes, which is the difference between changing the water in ten seconds and fishing a cutting out with tweezers.
#ad · Price as of October 18, 2026. How we are funded
- What the listing publishes
- Five wide-mouth glass jars in a stand; wide openings for water changes
- Against a 10-inch pot
- No weight rating is published for this product, so there is nothing to check. That counts against it here rather than being treated as neutral.
Neck diameter is the specification nobody compares and everybody feels. A narrow tube means you cannot get a finger in to clean the algae, and algae is what ends most propagation stations.
Five jars on roughly a 12 by 4 inch footprint is a third of a square foot for five cuttings, the densest thing on the site by a wide margin, because water weighs less than mix.
Wide jars also take a thicker cutting. A monstera node with an aerial root does not fit a 15 mm test tube.
What is good
- Wide mouths make water changes and cleaning trivial
- Fits thick cuttings and aerial roots
- Five positions in a third of a square foot
What is not
- Wider jars mean more water and more evaporation surface
- Jars lift out, which is convenient and also means they get knocked out
- Glass on a desk with a cat is a decision
Skip it if you are rooting thin herb cuttings in bulk. Narrow tubes hold more cuttings per inch and use a fraction of the water.
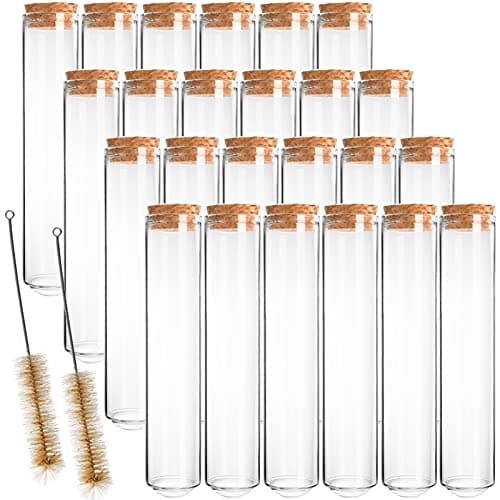
2. Volume propagation on a bench
Bekith 80 ml Glass Test Tubes with Cork Stoppers, 24 pack
The widest bore on this site at 25 mm, which is the one that takes a thick philodendron node, and the lowest cost per cutting position by a distance.
#ad · Price as of October 18, 2026. How we are funded
- What the listing publishes
- Published 24 tubes, 80 ml, 25 by 200 mm borosilicate glass; cork stoppers and two 8.5 in brushes; no rack included
- Against a 10-inch pot
- No weight rating is published for this product, so there is nothing to check. That counts against it here rather than being treated as neutral.
25 mm outside diameter takes cuttings that a 15 mm tube will not, including most philodendron nodes. 80 ml also means a fill lasts far longer between changes.
Twenty-four positions for the price of a single small station is the cheapest way to scale propagation, provided you are willing to stand them in something. A drilled plank does it.
It is laboratory equipment and it looks it. That is a feature on a workbench and a problem in a living room.
What is good
- A 25 mm tube takes thicker cuttings than standard propagation tubes
- 80 ml holds water long enough to halve the maintenance
- Two cleaning brushes included, and an 8.5 in brush reaches the bottom of a 200 mm tube
What is not
- Looks like laboratory equipment because it is
- No rack at all — you are drilling a board or buying a stand separately
- 24 tubes is more than most people will ever fill
Skip it if you want something that stands up on its own. These are tubes in a box, and a wooden five-tube station is the finished object.
Questions people actually ask
Where do you cut a plant for propagation?
How much water should go in a propagation station?
When should I move a cutting from water to soil?
Why is my propagation water cloudy?
Sources
- University of Illinois Extension: Houseplants — propagation
- Clemson HGIC: Indoor Plants — watering
- Michigan State University Extension: Smart Gardening — growing houseplants indoors
Product specifications are quoted from each seller's own listing and are the seller's claim, not a measurement of ours.