Propagation
How to Build a DIY Propagation Station
Three builds, from a fifteen-minute one to a weekend one. Components only on this page, because buying a finished station is not what you are here for.
By Scooter M., enthusiast · Published · Last updated
The short answer
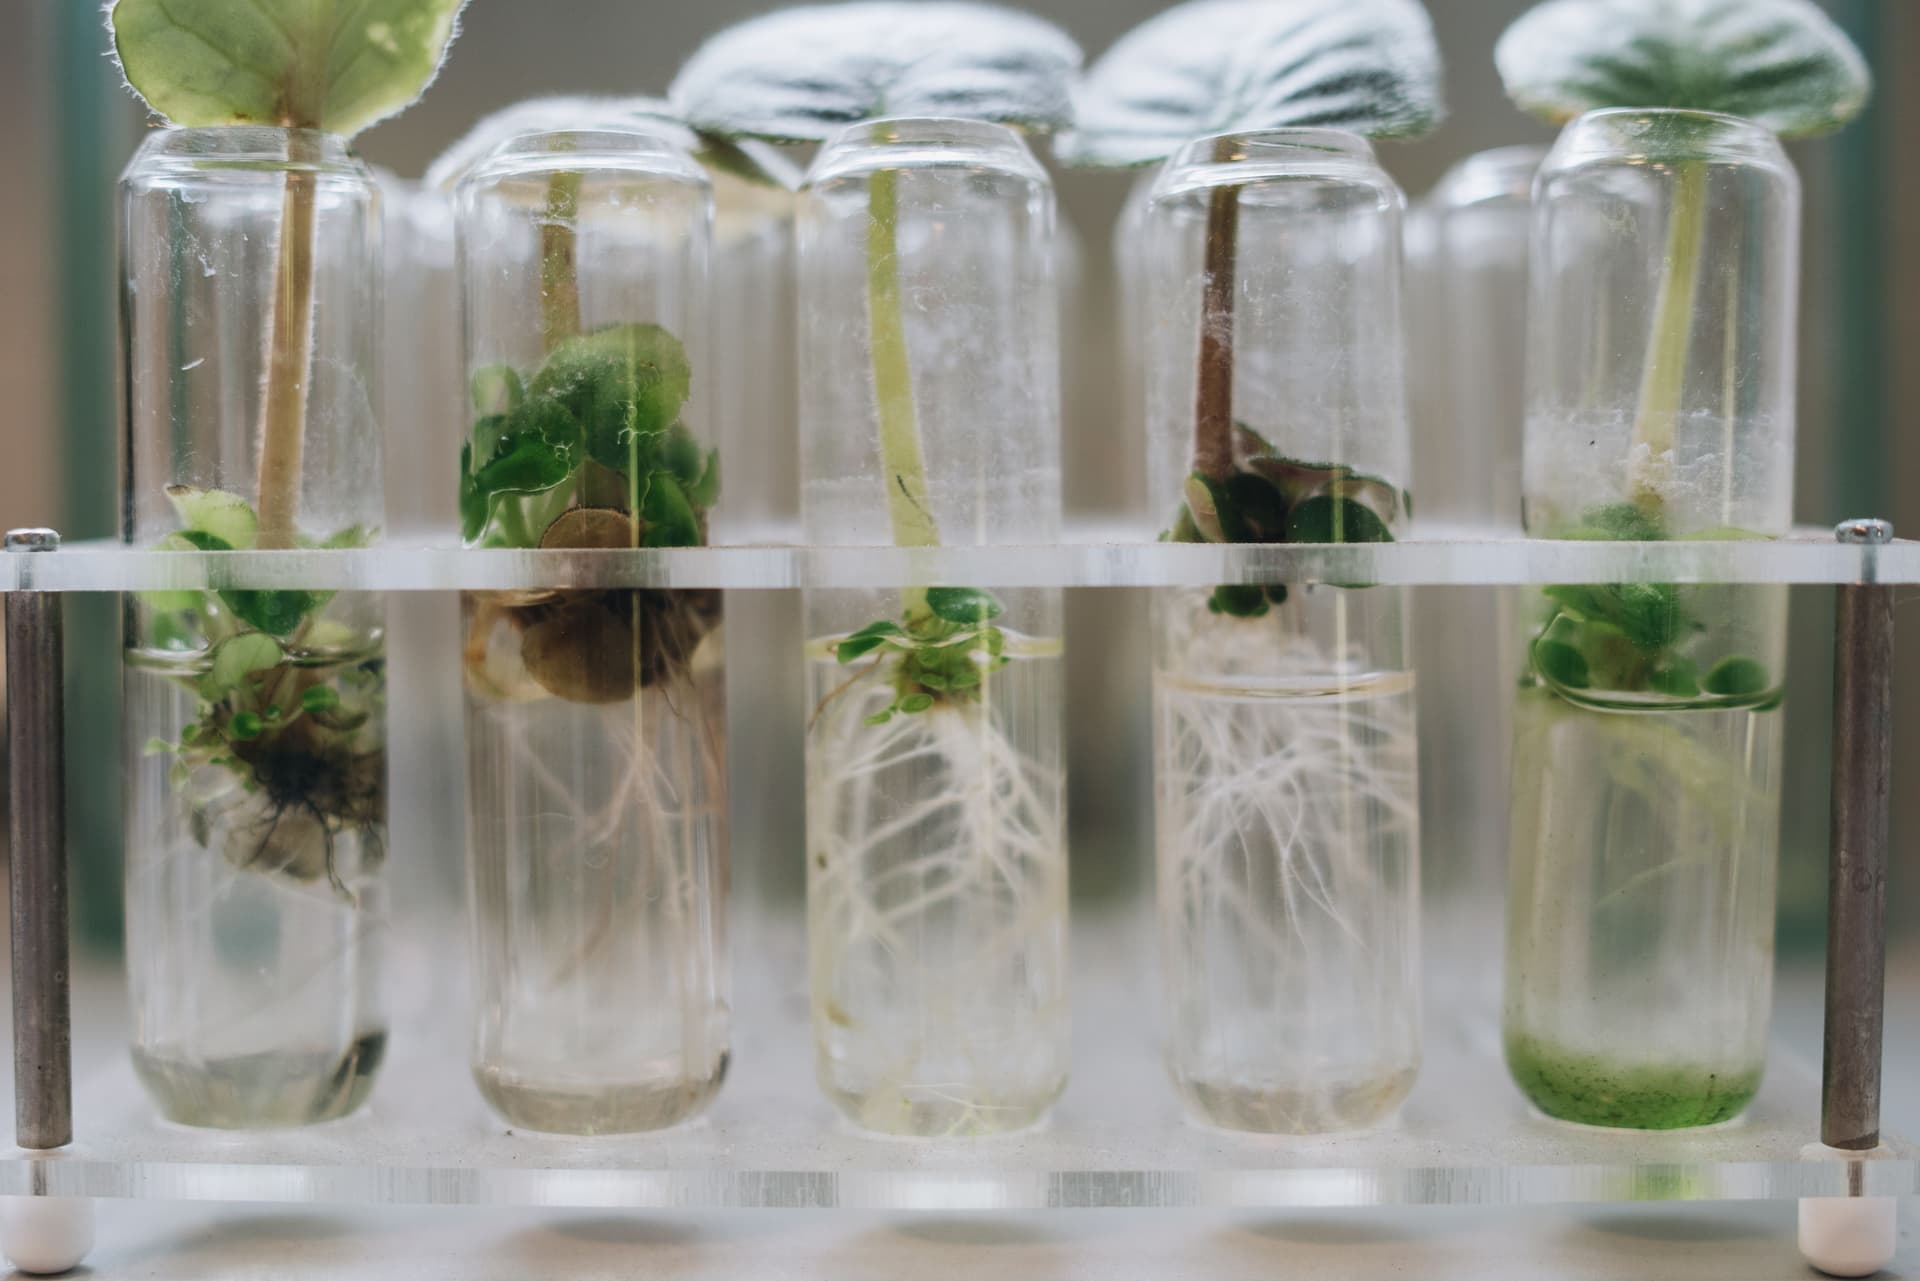
The easiest genuinely good build is bulk glass test tubes in a rack you already own or make from a drilled plank. Tubes are cheap in bulk packs, the rack is the only creative part, and the result is functionally identical to a station costing several times more. The parts below are components, not finished stations.
Disclosure Pot & Prop earns a commission when you buy through the Amazon links on this page, at no extra cost to you. It does not change which products get recommended or what we say about them, and we have not been given any of them. How this site is funded.
A note on what this page will and will not do. You are here to build something, so this page sells components — tubes, racks, hardware — and does not end with a link to a finished station you could have bought instead. That would waste your time on purpose. If you decide midway that buying is easier, the roundup is here and there is no shame in it; this page will not nudge you there.
Build one: tubes in a drilled plank, fifteen minutes
- Get bulk test tubes. 20 ml is the standard propagation size, sold in bulk packs for very little. Check the published outside diameter before you drill anything — the pick below is 20 mm, and other packs run 15 to 16 mm. Corks are optional and mostly get lost.
- Find a plank. Anything about 2 inches thick and as long as you want the station: an offcut, a chopping board, a piece of scaffold board.
- Drill holes slightly larger than the tube diameter — a 21 to 22 mm bit for 20 mm tubes, a 16 to 17 mm bit for 15 mm ones — spaced about 2 inches apart. Do not drill all the way through, or the tubes fall out the bottom.
- Sand and oil it if you want it to look deliberate. Ten more minutes.
- Drop the tubes in. Done. The tubes lift out for cleaning, which is the property that matters most.
Build two: a wall-hung version, an hour
The same drilled plank, mounted on a wall. In a rented apartment that means adhesive hooks rather than screws, and the arithmetic is on the wall station page: a loaded station is only a few pounds, so an 11 lb hook is comfortable and two hooks are better than one. Drill two holes through the back of the plank for a cord or hanging bracket before you fill it with tubes.
Build three: jars and a hose clamp rail, a weekend
For thicker cuttings — monstera nodes especially — tubes are the wrong vessel. A rail of jars solves it: a length of timber, a row of stainless hose clamps screwed to it, and jars clamped into them. Each jar releases with a screwdriver for cleaning. It is more work and it is the only home-built version that handles a monstera node with an aerial root attached.
What you actually need
| Build | Needs | Time | Handles thick cuttings |
|---|---|---|---|
| Drilled plank | Tubes, timber, a drill | 15 minutes | No |
| Wall-hung plank | As above, plus two rated hooks | 1 hour | No |
| Jar rail | Jars, hose clamps, timber, screws | A weekend | Yes |
| Bought rack | Nothing | None | Depends on the vessel |
What to avoid building
- Anything glued permanently. Vessels that cannot be removed cannot be cleaned, and every propagation vessel eventually goes cloudy. Removability is the single most important design property.
- Holes drilled all the way through a thin board. The tube falls out the moment you lift the station.
- Narrow-necked bottles. They look wonderful and you cannot get a brush inside them, so they become single-use.
- Anything that will not sit flat. A station that tips when you take one tube out will be tipped over eventually.
Every pick, in full
We have not handled any of these. What follows is what each listing publishes, what that means once you put a watered pot on it, and who should buy something else.
1. Building your own station
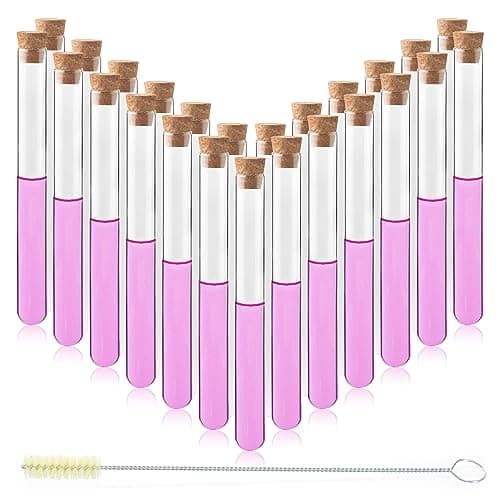
Labvida 20 ml Glass Test Tubes with Cork Stoppers and Brush, 50 pack
The component, not the product. Fifty borosilicate tubes cost less than a five-tube station, which is the whole argument for building your own rack rather than buying one.
#ad · Price as of October 18, 2026. How we are funded
- What the listing publishes
- Published 50 tubes, 20 ml, 20 by 100 mm borosilicate glass, round bottom; cork stoppers and a cleaning brush included
- Against a 10-inch pot
- No weight rating is published for this product, so there is nothing to check. That counts against it here rather than being treated as neutral.
20 mm outside diameter is the number to build to. It is wider than the 15 to 16 mm tubes most commercial racks are drilled for, which is a problem if you were planning to buy a rack and a non-issue if you are drilling a board — you simply drill to 20 mm.
The brush is the part that matters. Algae in a tube this narrow cannot be reached with a finger, and a tube you cannot clean is a tube you throw away.
This is the pick for the do-it-yourself route on this site, which monetizes components only and never a finished station dressed up as a project.
What is good
- 20 mm bore takes a thicker cutting than a standard 15 mm propagation tube
- Includes the cleaning brush that makes tubes reusable
- Fifty tubes for less than a five-tube station
What is not
- No stand, and at 20 mm they will not drop into a rack drilled for standard 15 to 16 mm tubes
- Cork stoppers swell and are not needed for propagation
- Thin laboratory glass breaks more easily than a jar
Skip it if you want something that works out of the box. These are components, and a five-tube desktop station is the finished answer.
2. Volume propagation on a bench
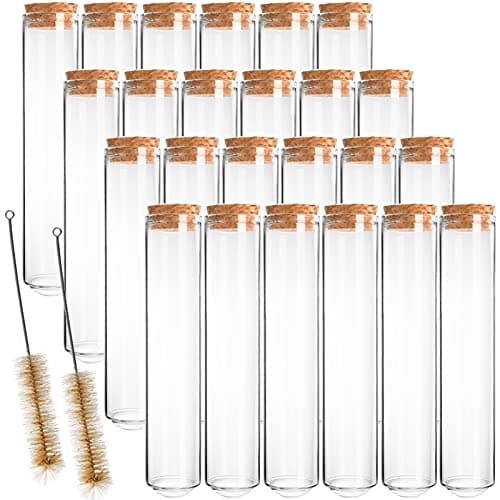
Bekith 80 ml Glass Test Tubes with Cork Stoppers, 24 pack
The widest bore on this site at 25 mm, which is the one that takes a thick philodendron node, and the lowest cost per cutting position by a distance.
#ad · Price as of October 18, 2026. How we are funded
- What the listing publishes
- Published 24 tubes, 80 ml, 25 by 200 mm borosilicate glass; cork stoppers and two 8.5 in brushes; no rack included
- Against a 10-inch pot
- No weight rating is published for this product, so there is nothing to check. That counts against it here rather than being treated as neutral.
25 mm outside diameter takes cuttings that a 15 mm tube will not, including most philodendron nodes. 80 ml also means a fill lasts far longer between changes.
Twenty-four positions for the price of a single small station is the cheapest way to scale propagation, provided you are willing to stand them in something. A drilled plank does it.
It is laboratory equipment and it looks it. That is a feature on a workbench and a problem in a living room.
What is good
- A 25 mm tube takes thicker cuttings than standard propagation tubes
- 80 ml holds water long enough to halve the maintenance
- Two cleaning brushes included, and an 8.5 in brush reaches the bottom of a 200 mm tube
What is not
- Looks like laboratory equipment because it is
- No rack at all — you are drilling a board or buying a stand separately
- 24 tubes is more than most people will ever fill
Skip it if you want something that stands up on its own. These are tubes in a box, and a wooden five-tube station is the finished object.
Questions people actually ask
What do I need to make a propagation station?
What size drill bit for test tube propagation stations?
Can I use jam jars for propagation?
Is a DIY propagation station cheaper than buying one?
Sources
Product specifications are quoted from each seller's own listing and are the seller's claim, not a measurement of ours.